How to Dermaplane at Home
Yes, it is definitely recommended to have a licensed esthetician perform a dermaplaning treatment, but it is possible to safely dermaplane at home with the right tools and technique.

If you are interested in trying this at home, we have put together the steps to help guide you through this process.
Here's a step-by-step guide to dermaplaning at home:
-
Cleanse your face: Start with a clean, dry face. Use a gentle cleanser to remove any makeup, dirt, or oil from your skin.
-
Prep your skin: Apply a gentle exfoliator to your face to help remove dead skin cells and make it easier for the blade to glide smoothly over your skin.
-
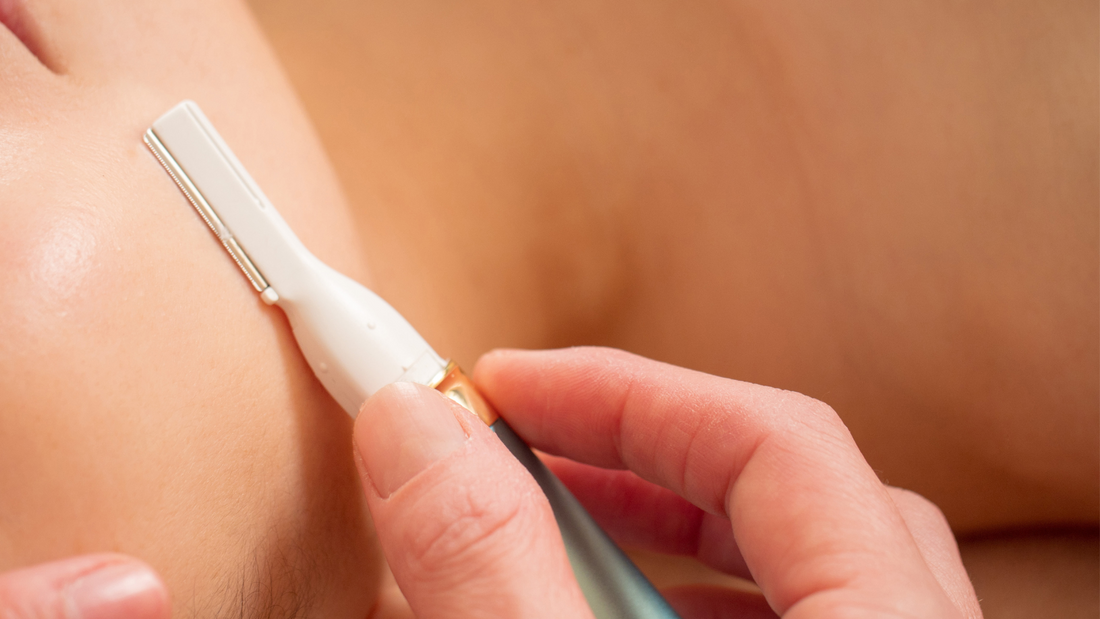
Stretch your skin: Hold your skin taut with one hand and use the other hand to hold the blade at a 45-degree angle to your skin.
-
Begin dermaplaning: Start at the top of your cheekbone and use short, gentle strokes to move the blade downward. Continue working in sections, taking care to avoid any areas of your face with active acne or other blemishes.
-
Rinse your face: Once you've finished dermaplaning, rinse your face with lukewarm water to remove any remaining dead skin cells or peach fuzz.
- Apply skincare products: Apply a gentle toner to your face to help soothe your skin and restore its natural pH balance. Follow with your usual skincare routine, including a hydrating serum and moisturizer.
Dermaplaning at home does come with some risks, including the possibility of nicks, cuts, or skin irritation. To minimize the risk of complications, it's important to use a high-quality dermaplaning blade, follow proper technique, and take your time during the process.
It can be an effective way to remove dead skin cells and peach fuzz from your face, leaving your skin smoother and brighter.